This is the first build I'm going to be doing that will utilise Spinneyworld products. I've been so busy developing them, that I've neglected the workbench, and haven't built as much as I'd like.
It's also my first bike model, and, being me, I'm building it custom. Bosozoku are Japanese biker gangs (the most common translation I've seen of the name is "running tribe"), who have developed their own style of customising for cars and bikes. On bikes, it manifests as chopper style handlebars, exaggerated seat backs, and aero fairings lifted up so far they're more likely to detract from the bike's dynamics. Intricate paint jobs are common as well.
I'm going to be copying the seat and handlebars for this build, and trying out some new paints and techniques. The fairing may be beyond me, unless I get lucky on eBay. The handlebars will be designed by me for 3D printing (not started yet, need to get that done), and I'll also be using some of the foot pegs I designed recently.
The model I'm working on is Aoshima's 1978 Honda CB400T Hawk II, which I ordered from Hiroboy.
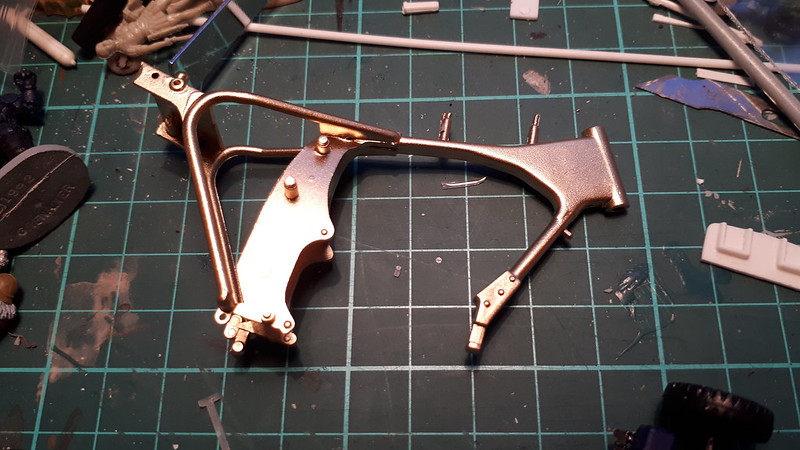
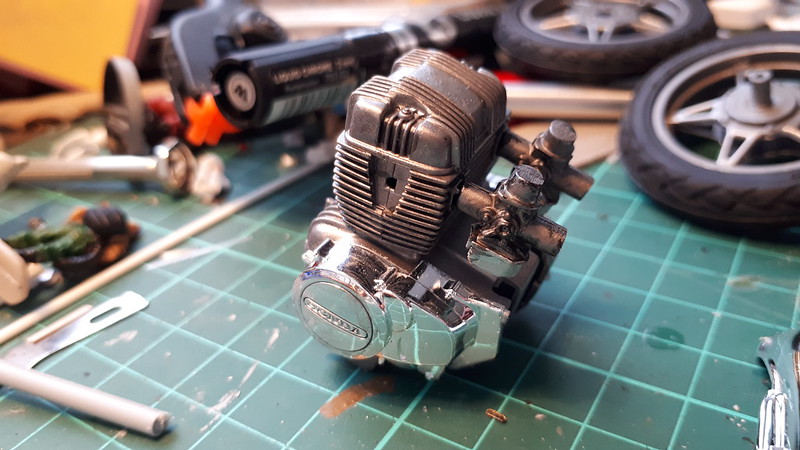
The first thing I did was glue the frame together, and the main parts of the engine block.
Whilst the frame went together nice and true. the connection pins for the lower half of the engine block were vague, and, no matter how I lined them up, there was a very obvious seam, which I later had to file down before fitting other components. The two carburettors were similarly tricky to align.
Boring black wouldn't do, so the frame got a coat of gold paint. Wilko own brand rattle can, in fact.
The engine block, and the wheels, got a coat of Citadel Iron Hands Steel, and I learnt that my airbrush doesn't work very well with a rotted seal on the air hose, on one of the most humid days of the year. Luckily, the paint's just there to enhance the colour the plastic was supplied in. Those seams I mentioned were filed down, the chrome covers were attached, and the gaps between the fins were enhanced with a little Citadel Nuln Oil.
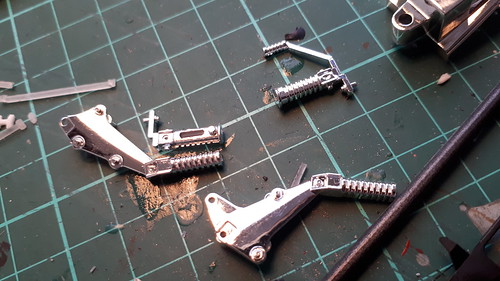
The next job is to get the chrome off the footpegs and their mountings. I've already tested oven cleaner on a bit of sprue.
Then the pegs will be replaced with these. The 'Croc Jaw' pegs, from my very own range.
I had a moment of inspiration whilst sorting through the mess on the workbench. I've bought a number of nail file sets from the pound shop, to use as cheap sanding sticks. They may turn out to be too coarse, but some of them are the exact shape I need to build the seat back. Even better, there are three different sizes of them. I cut out a plastic card back, then glued three of the sticks to it, using a combination of superglue and PVA. The next step is to use filler to build up a smoother cushioned shape, and then fit it onto the back of the kit seat.
The fuel tank is in the spray booth (which is a plastic crate on its side on top of the fridge, for the time being). I shall do a grand reveal of the paint scheme it's getting in the next build report.


0 comments